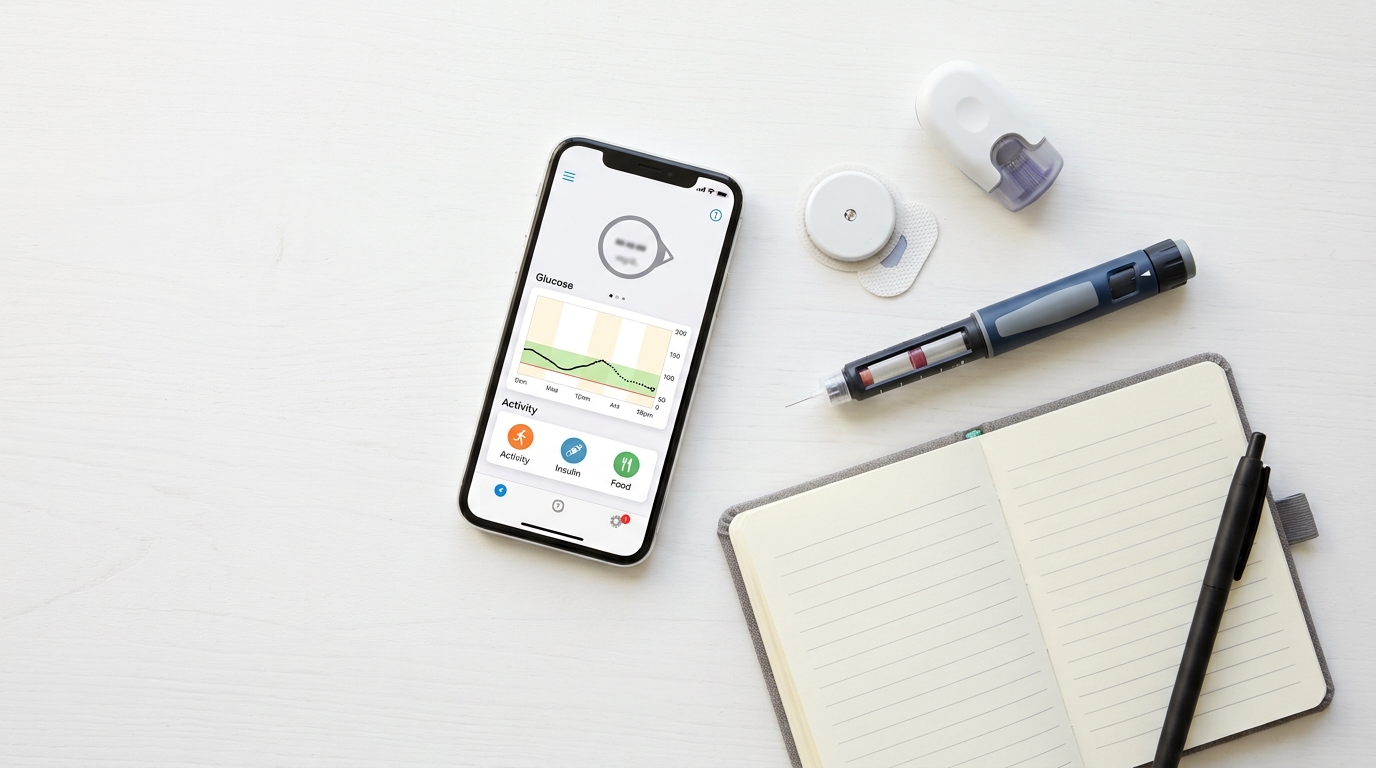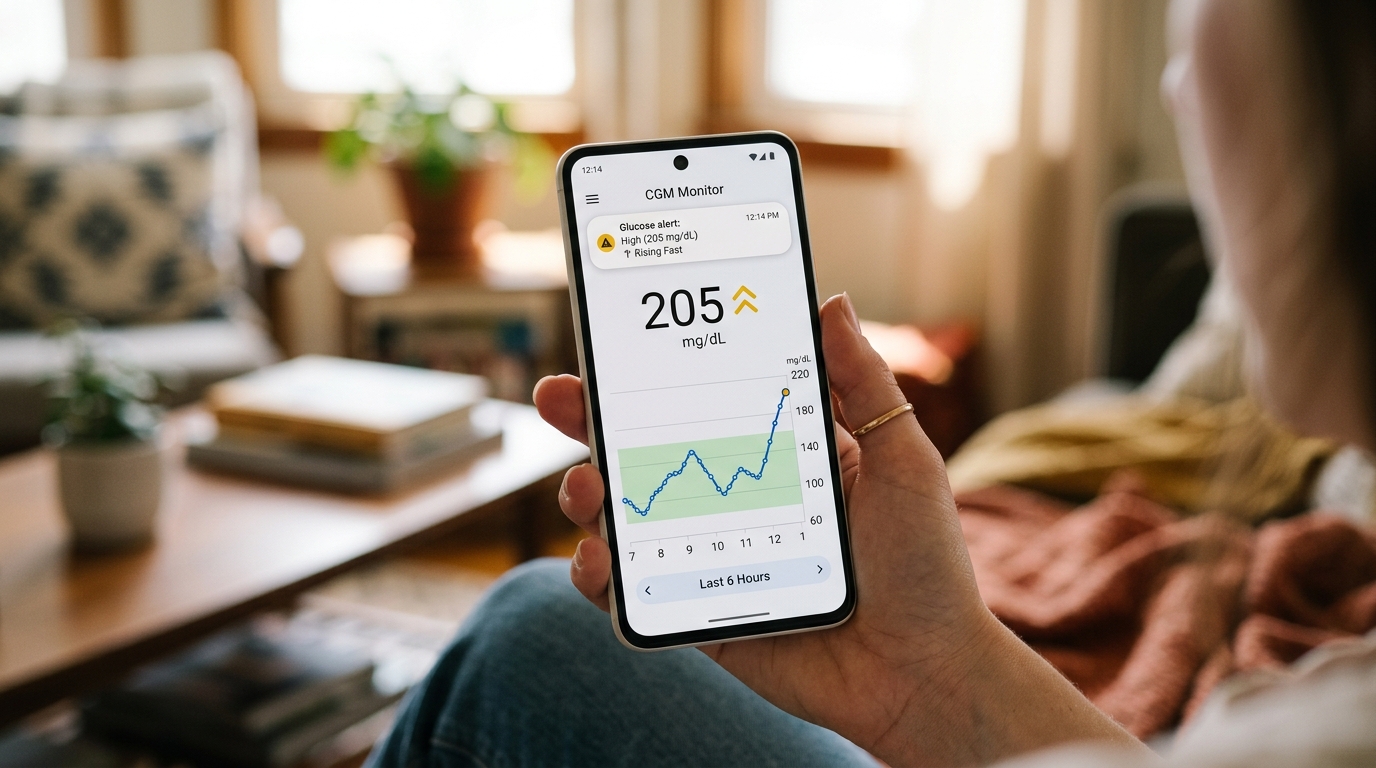
Getting a new continuous glucose monitor for the first time can feel a little intimidating, especially if you have spent years relying on a simple glucometer and finger pricks. The good news is that setting up the iCan i3 is a straightforward process once you know what to expect. This guide walks through what comes in the box, how to apply your first sensor, and what happens in the hours after you get started, so your first experience feels smooth rather than confusing.
What Comes in the Box
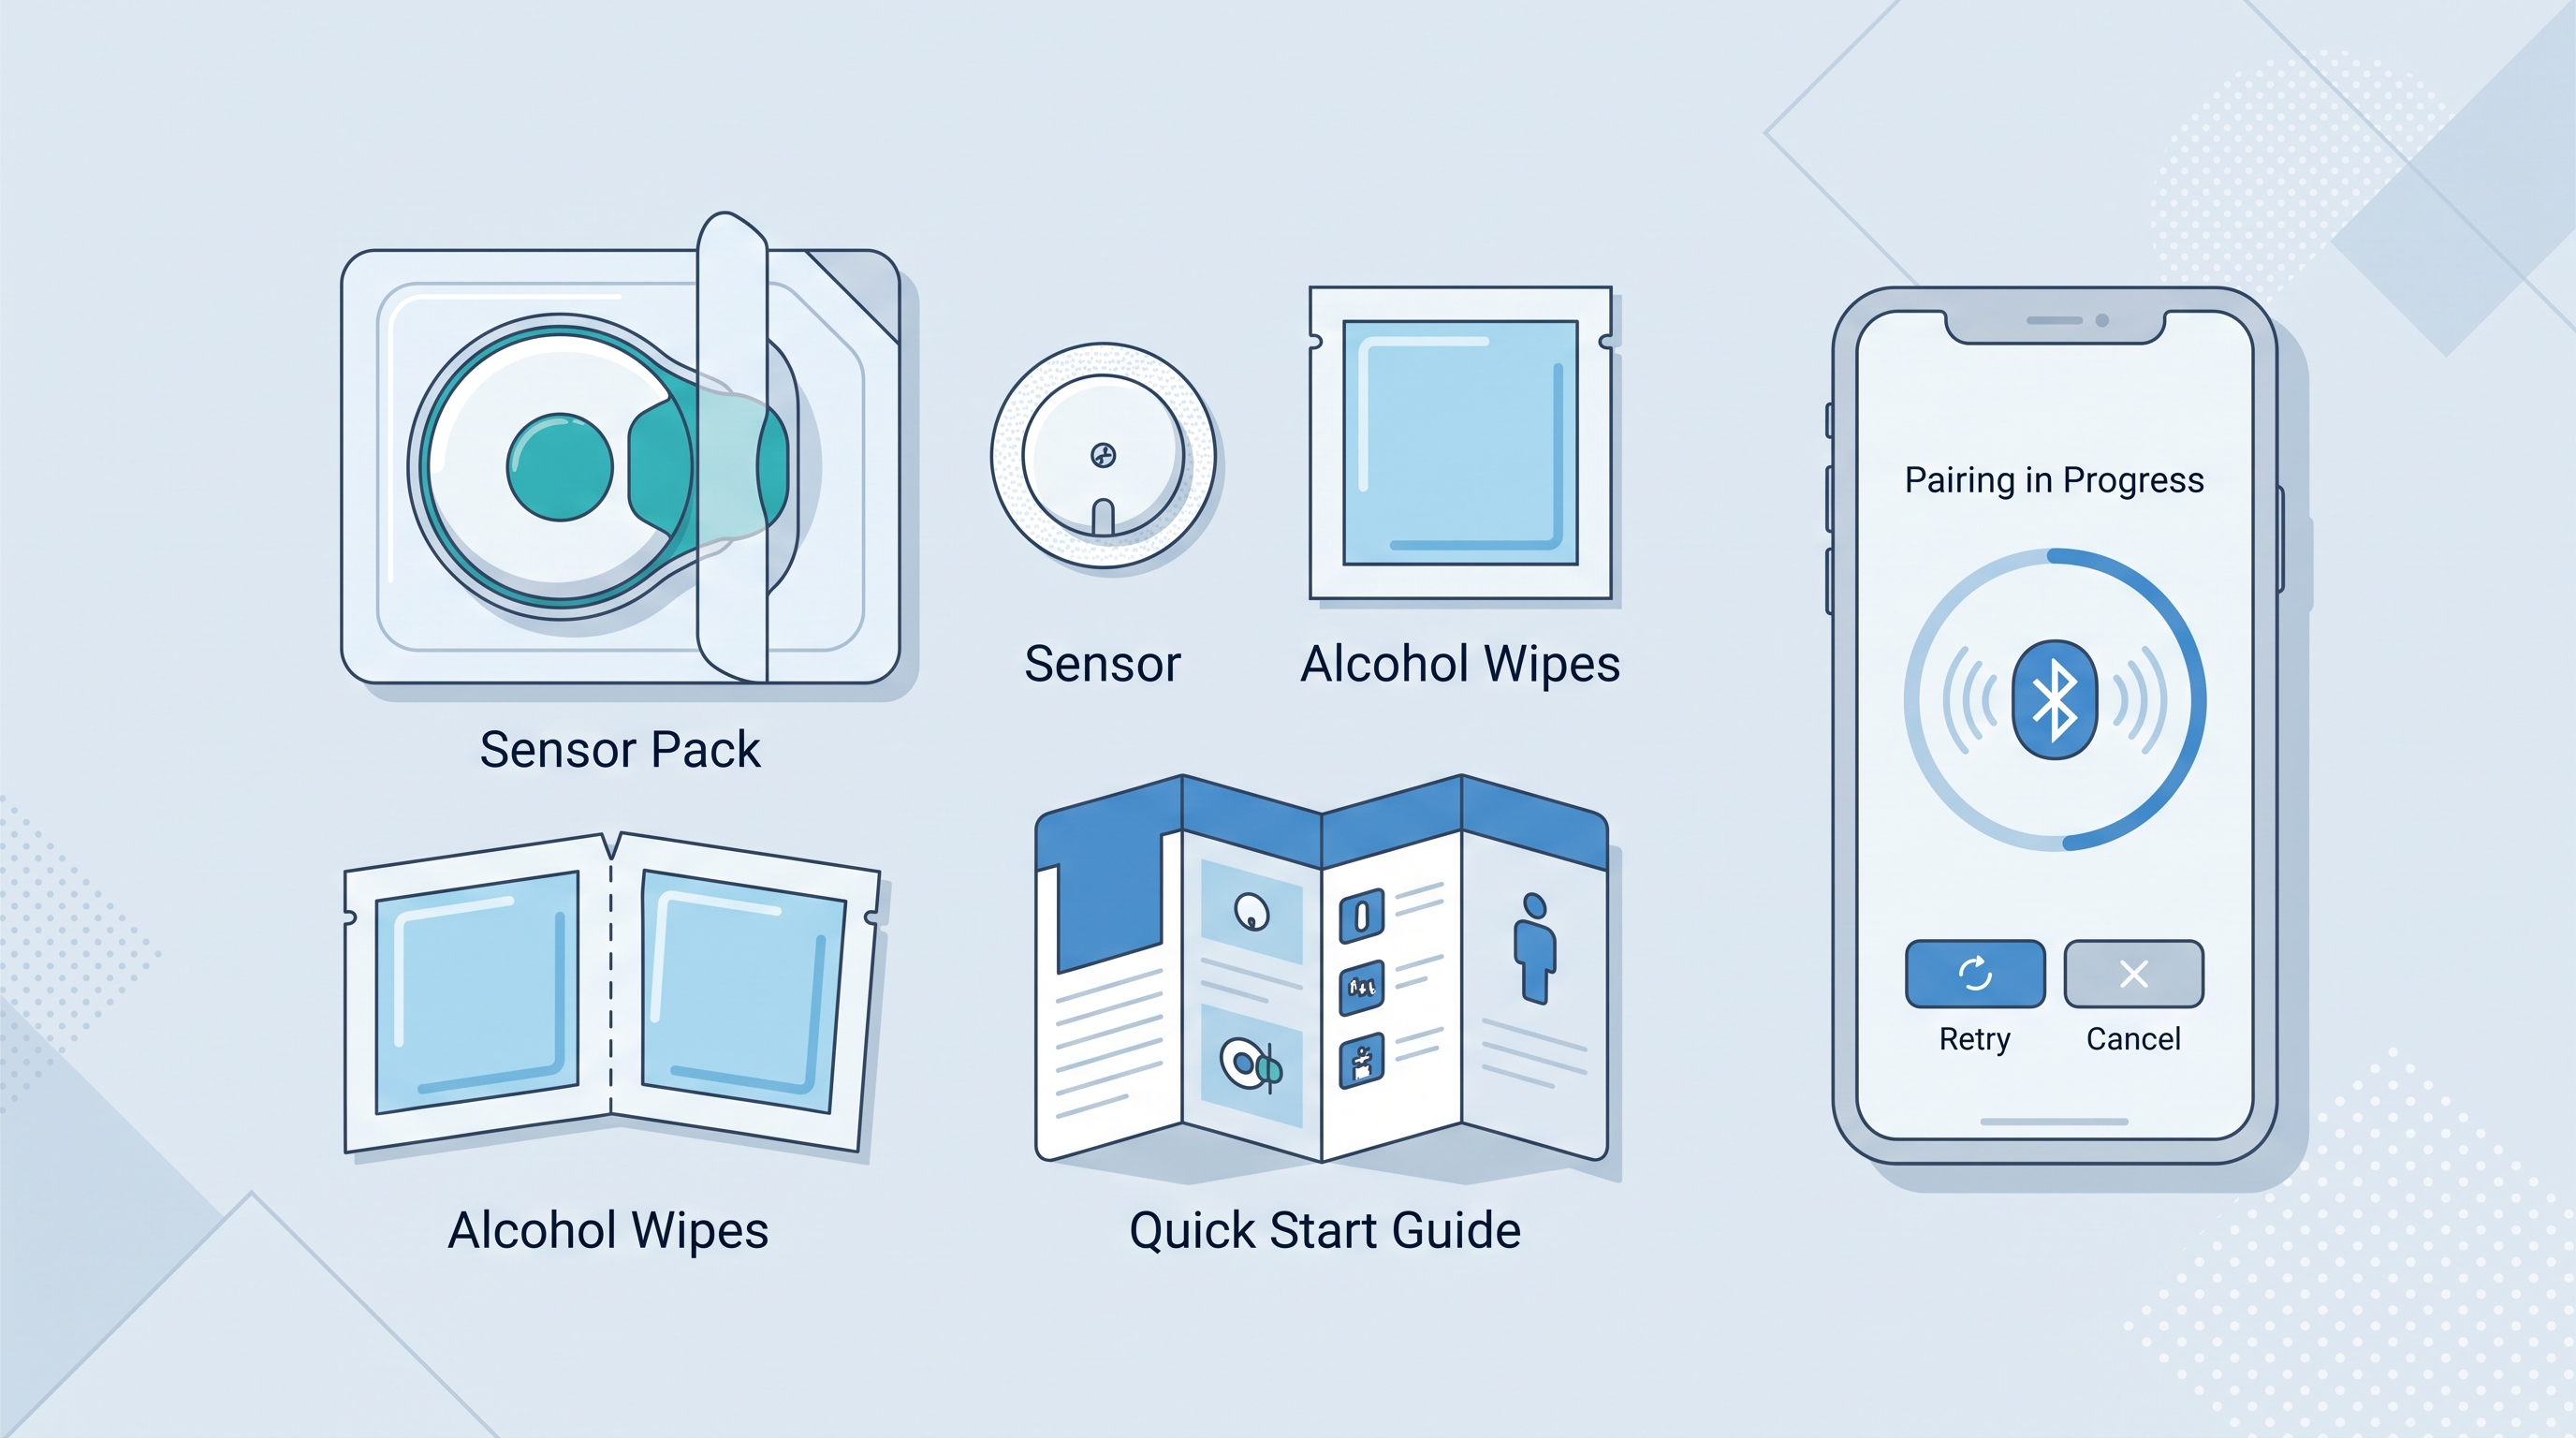
When you open your iCan i3 kit, you will typically find a few key items packed together. There is the sensor itself, sealed in sterile packaging to keep it clean until you are ready to apply it. Alongside it is the applicator, a small device designed to insert the sensor filament under your skin quickly and with minimal discomfort. You will also find an alcohol wipe or similar skin preparation item, along with instructions specific to your kit.
Depending on your particular package, you may receive a single sensor or multiple sensors if you purchased a bundle. It is worth checking the expiration date printed on the packaging before use, since sensors, like other medical consumables, have a shelf life and should be applied before that date so the readings stay reliable.
Preparing to Download and Set Up the App
Before applying your sensor, it helps to have the iCan CGM app already downloaded and ready on your phone. The app is available for both major smartphone platforms, and setting it up beforehand means you can pair your sensor immediately after applying it, rather than fumbling with app downloads while a new sensor is already on your arm.
Once installed, the app will typically ask you to create an account or sign in, and may walk you through a few basic setup steps, like entering some general health information relevant to how your alerts and reports are calibrated. Taking a few minutes to complete this setup calmly, before you actually apply the sensor, makes the rest of the process much smoother.
Choosing Where to Apply the Sensor
The recommended placement for the iCan i3 sensor is typically the back of the upper arm, an area that tends to have consistent tissue thickness and is less prone to the kind of movement or pressure that might affect sensor readings or adhesive security. It is best to choose an area free of scars, moles, stretch marks, or significant hair, since these can interfere with proper adhesive contact or sensor placement.
If you already know you will be sleeping on a particular side regularly, some people find it more comfortable to place the sensor on the opposite arm, simply to reduce the chance of applying pressure to the site overnight. This is a personal preference rather than a strict requirement, since the sensor is designed to function normally even with some pressure applied during sleep.
Preparing the Skin
Before applying the sensor, clean the chosen area of skin with the alcohol wipe provided in the kit, or a similar alcohol based skin prep pad if you are using a separate one. Allow the area to dry fully before proceeding, since applying the sensor to damp or wet skin can affect how securely the adhesive sticks.
Avoid applying lotion, oil, or any other skincare product to the area in the hours before applying the sensor, since these can create a barrier that prevents the adhesive from bonding properly, which may lead to the sensor lifting or falling off earlier than expected.
Applying the Sensor Using the Applicator
Once your skin is clean and dry, remove the sensor and applicator from their sterile packaging just before use, rather than opening them well in advance. Follow the specific instructions included with your kit for loading the sensor into the applicator, since exact steps can vary slightly depending on your kit's version.
With the applicator positioned firmly against the prepared skin, most users describe the actual insertion as a quick, single motion, often compared to a brief pinch rather than a sustained pain. The applicator handles the precise depth and angle of insertion automatically, which is part of what makes the process manageable even for people who have never applied a medical sensor themselves before.
After insertion, gently press down around the edges of the sensor to help the adhesive make full contact with your skin, ensuring it stays securely in place through daily activities like showering, exercising, and sleeping.
Pairing the Sensor With Your Phone
With the sensor in place, open the iCan CGM app and follow the prompts to pair a new sensor. This usually involves holding your phone near the sensor briefly to establish the initial Bluetooth connection, after which the app will begin communicating with the sensor automatically for the rest of its wear period.
Once paired, the app will typically indicate that the sensor is in a warm up period, a standard part of starting any CGM, during which the device calibrates itself internally before providing fully reliable readings.
Understanding the Warm Up Period
Most CGMs, including the iCan i3, require a brief warm up period after each new sensor is applied, generally around one hour, though this can vary slightly. During this time, the app may not display full readings, or may show a message indicating the sensor is still initializing.
This warm up period is a normal and expected part of the process, not a sign of a problem, and it exists because the sensor needs a short amount of time to stabilize within the interstitial fluid before its readings become accurate and dependable. It is a good idea to use this time to finish setting up any preferences in the app, like your target glucose range and alert thresholds, so everything is ready to go the moment full readings become available.
Setting Your Alerts
Once your sensor is active and providing readings, take a few minutes to set up your personal high and low glucose alerts within the app. These thresholds should generally reflect guidance from your doctor based on your individual health needs, rather than a generic default setting, since target ranges can vary from person to person depending on factors like age, other health conditions, and personal treatment goals.
Setting these alerts early means you will be notified right away if your glucose moves outside your intended range, which is one of the most valuable features of switching from finger prick testing to continuous monitoring in the first place.
What Your First Few Hours of Readings Might Look Like
In the first few hours after your sensor becomes fully active, it is normal to see your glucose graph begin to take shape gradually rather than all at once, since the app builds its trend display as new readings come in over time. Do not be surprised if the very first readings feel slightly less predictable than they become after a day or so, as both the sensor and your understanding of how to read the data settle in together.
If you have a glucometer on hand, some people find it reassuring to do a comparison finger prick reading during this early period, simply to build confidence in how the new device is performing relative to what they are used to, even though this is not a required step.
Common First Time Questions
Many first time users wonder whether the applicator will hurt significantly more than a finger prick, and most report that it does not, describing it instead as a brief, manageable pinch. Others ask whether they need to protect the sensor immediately after application, and the answer is generally no, beyond avoiding unnecessary pressure or friction directly on the fresh insertion site for the first few hours while everything settles.
It is also common to wonder whether the sensor will fall off with normal movement. As long as the skin was properly cleaned and dried before application, and the sensor was pressed down firmly around its edges, it is built to stay securely in place through typical daily activities, including exercise and sleep, for its full fifteen day wear period.
Final Thoughts
Setting up a CGM for the first time is a manageable process once you know the steps involved, from preparing your skin and applying the sensor to pairing it with the app and getting through the initial warm up period. Taking a calm, unhurried approach the first time, rather than rushing through each step, makes the entire experience smoother and helps you build confidence in the device from day one. Once your first sensor is up and running, the routine becomes second nature well before it is time to apply your next one fifteen days later.