If you have just started using a continuous glucose monitor, the first sensor application can feel a little intimidating. You are holding a small device that will sit on your arm for two weeks, and you want to get it right the first time. The good news is that applying a CGM sensor is a straightforward process once you understand the basic steps, and most of the mistakes people make in the beginning are easy to avoid once you know what to look for.
This guide walks you through the entire process, from picking the right spot on your arm to what to do in the minutes and hours after application. Whether you are new to the iCan CGM or simply want a refresher, this should answer most of the questions that come up during those first few tries.
Why Correct Application Matters
A CGM sensor works by sitting just under the skin, where it measures glucose levels in the fluid between your cells. This is different from a finger prick test, which measures glucose directly in your blood. Because the sensor needs to stay in one place and maintain contact with the skin for up to fifteen days, how you apply it has a real effect on both comfort and accuracy.
A poorly applied sensor can loosen early, give inconsistent readings, or cause skin irritation. None of these outcomes are common when the application steps are followed carefully, but they do happen more often when people rush the process or skip a step because they assume it does not matter. Taking five extra minutes at the start saves you from dealing with a failed sensor later.
Choosing the Right Spot on Your Arm
The back of the upper arm is the recommended location for most CGM sensors, including the iCan CGM. This area tends to have less muscle movement than other parts of the body, which helps the sensor stay stable and reduces the chance of it catching on clothing or bumping into things during daily activities.
When picking your spot, look for an area that is free of moles, scars, stretch marks, and visible veins. Skin that is flat and has a reasonable amount of fatty tissue underneath tends to work best. Avoid areas that get rubbed frequently by bra straps, bag straps, or tight sleeves, since constant friction can cause the adhesive to lift over time.
It also helps to rotate your application site with each new sensor. Using the same exact spot over and over can lead to skin sensitivity or a buildup of scar tissue in that area. Many users find it helpful to alternate between the left and right arm with each new sensor, which gives the skin time to recover between applications.
Preparing the Skin
Clean skin is one of the biggest factors in how well a sensor adheres. Before applying anything, wash the area with plain soap and water and dry it completely. Avoid using lotions, oils, or heavy moisturizers on the day of application, since these leave a residue that can prevent the adhesive from bonding properly.
If the area has hair, it is a good idea to trim it rather than shave it right before application. Shaving can leave tiny nicks in the skin that cause irritation once the sensor and adhesive are in place. A light trim with scissors or clippers is usually enough to make sure the sensor sits flat and the adhesive sticks well.
Some people also like to use an alcohol wipe on the site just before application, letting the skin air dry fully before proceeding. This step removes any remaining oils and gives the adhesive a cleaner surface to bond with. Just make sure the alcohol has completely evaporated, since applying the sensor to damp skin will weaken the adhesive.
The Application Process
Once your skin is clean, dry, and ready, you can move on to the actual application. Every iCan CGM kit comes with an applicator that makes the process simple, but it is worth understanding what happens during each stage so you feel confident going in.
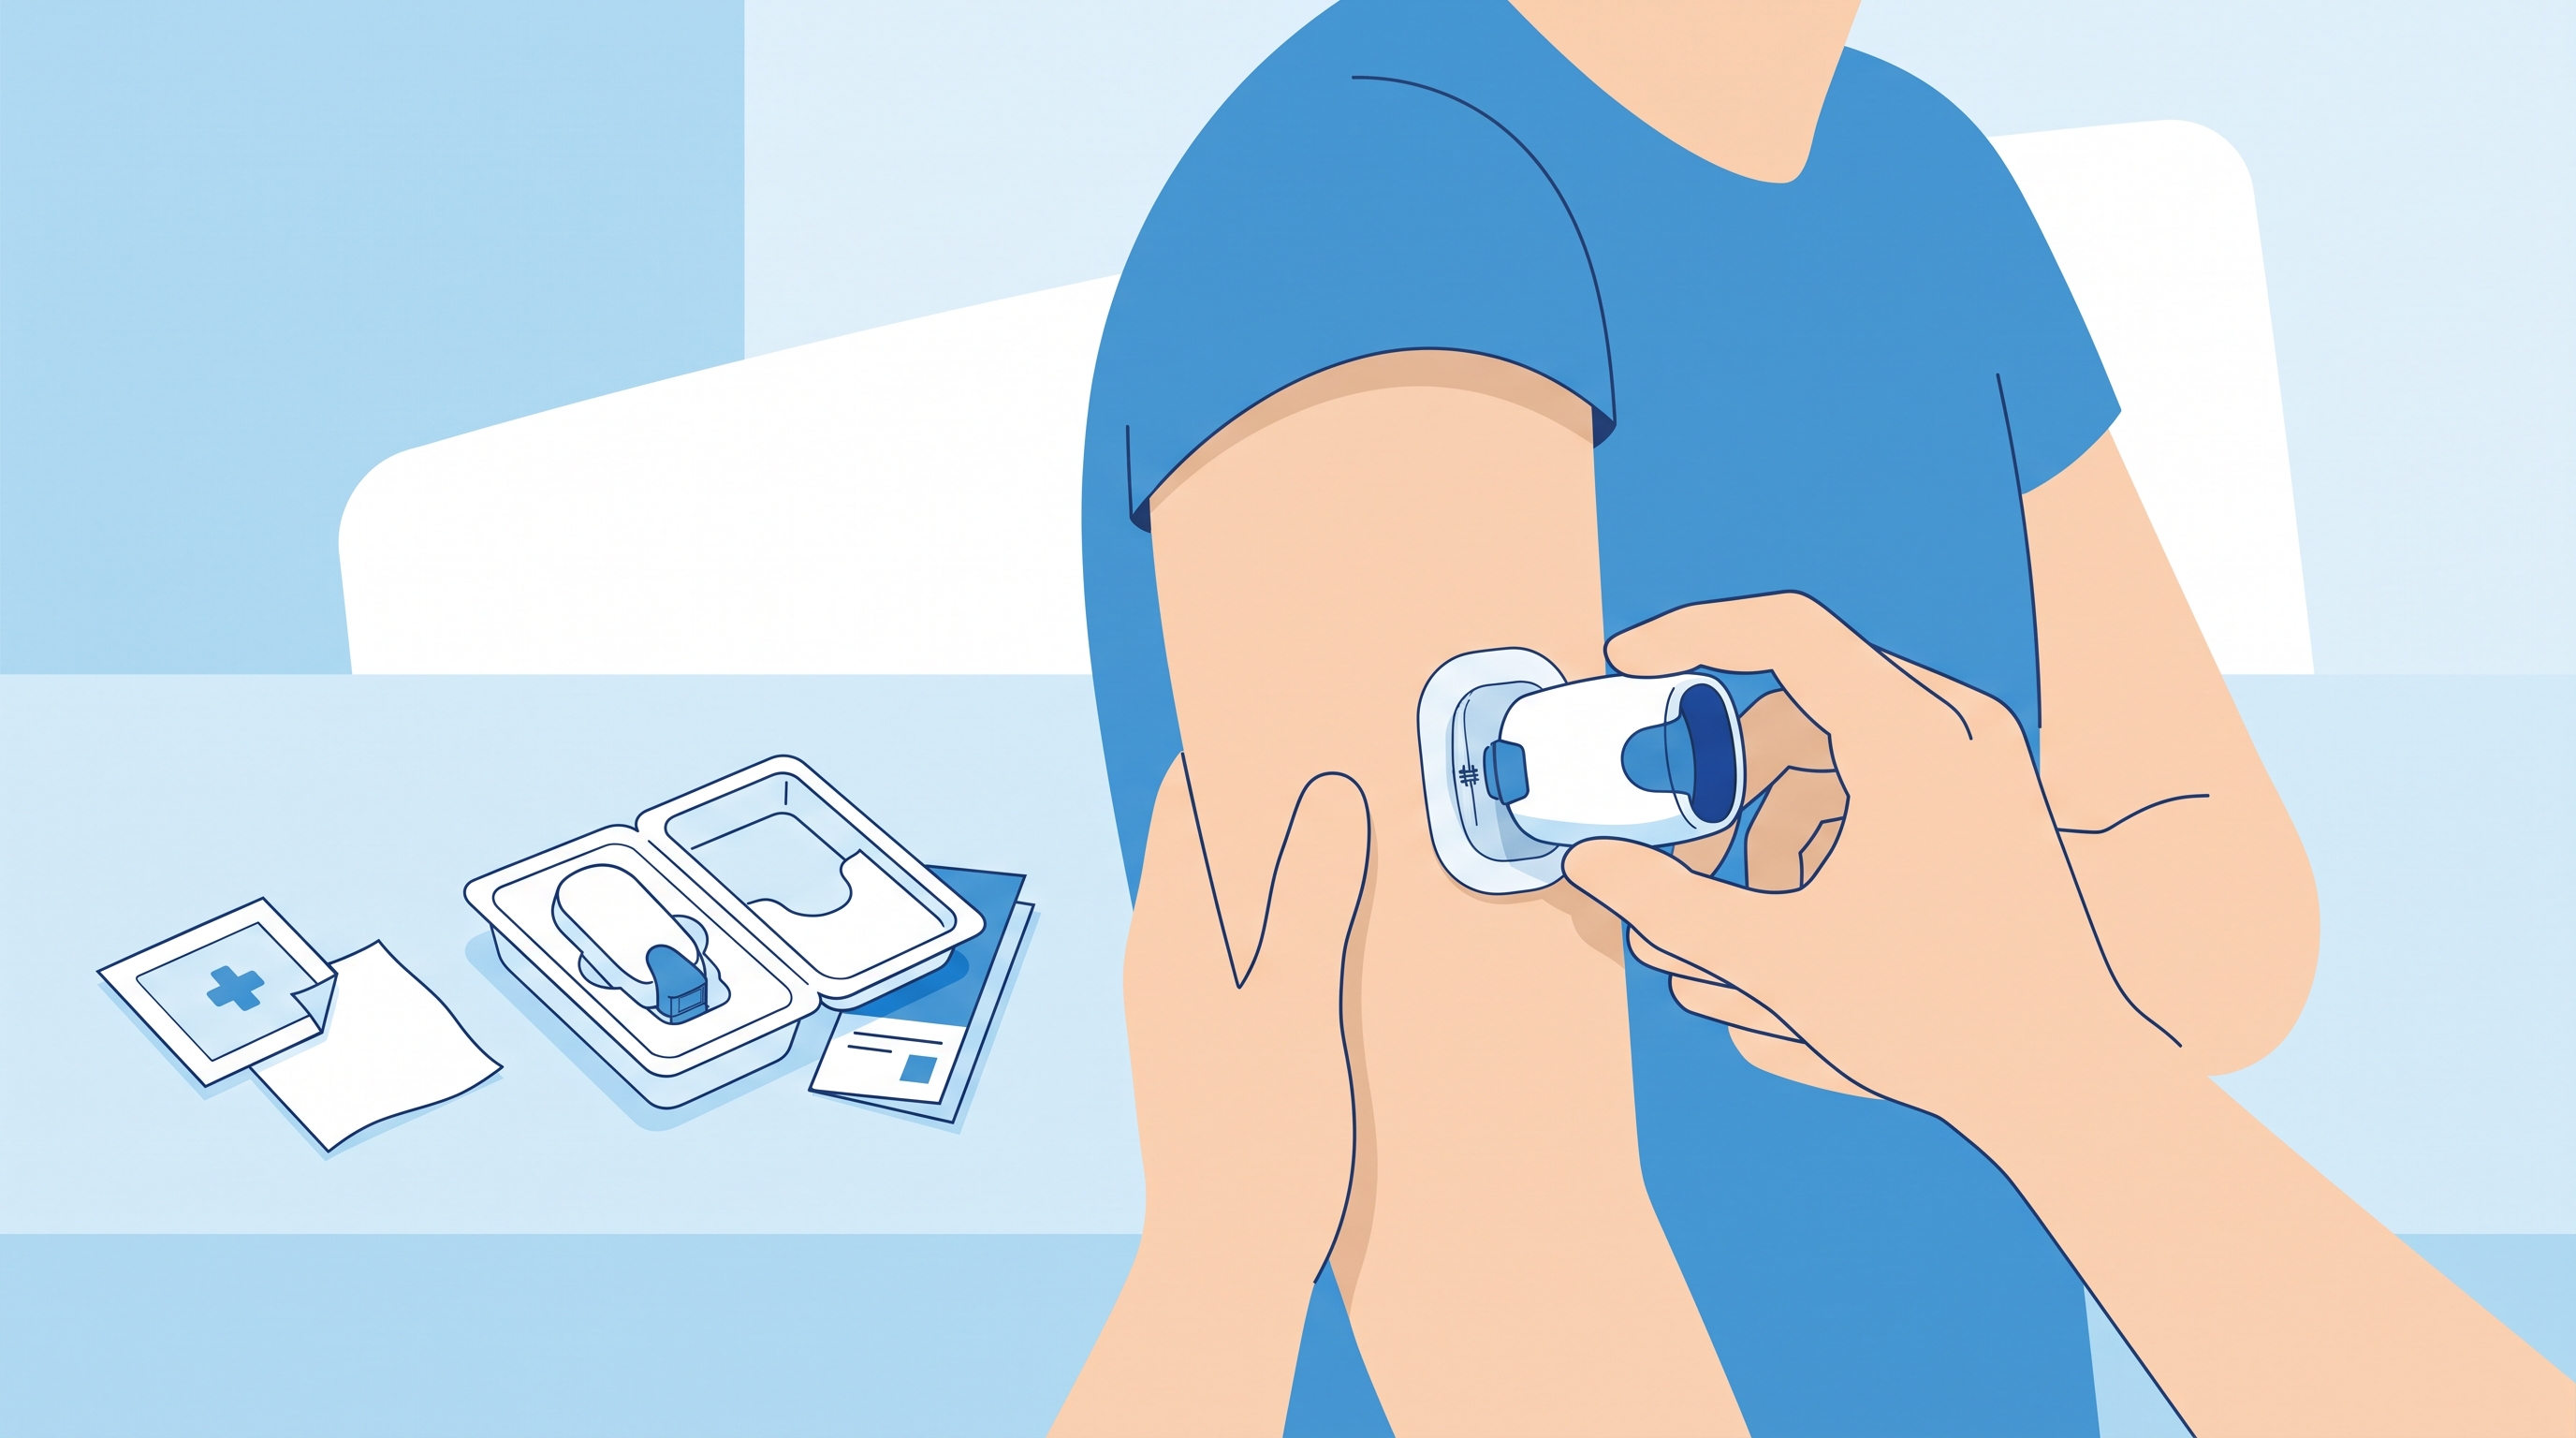
Start by removing the sensor packaging and checking the expiration date, along with a quick visual check to make sure nothing looks damaged. Peel back the protective liner on the applicator without touching the adhesive surface underneath, since oils from your fingers can reduce how well it sticks. Place the applicator firmly against your chosen spot on the arm, making sure it sits flat with even pressure all around.
Press the applicator button as instructed in the product guide. You will feel a quick, small pinch as the tiny sensor filament is inserted just under the skin. This sensation is brief for most people, often described as similar to a rubber band snap rather than an ongoing pain. Once the sensor is in place, remove the applicator by lifting it straight up and away from the skin, leaving the sensor and its adhesive patch behind.
Press down gently around the edges of the adhesive patch for a few seconds to help it bond fully with your skin. At this point, the sensor is physically in place, but it still needs to connect with your phone through the iCan CGM app before it starts sending readings.
Connecting the Sensor to Your App
After the sensor is applied, open the iCan CGM app on your phone and follow the prompts to pair it with your new sensor. This usually involves scanning a code on the sensor packaging or entering a serial number, followed by a short warm up period during which the sensor calibrates itself.
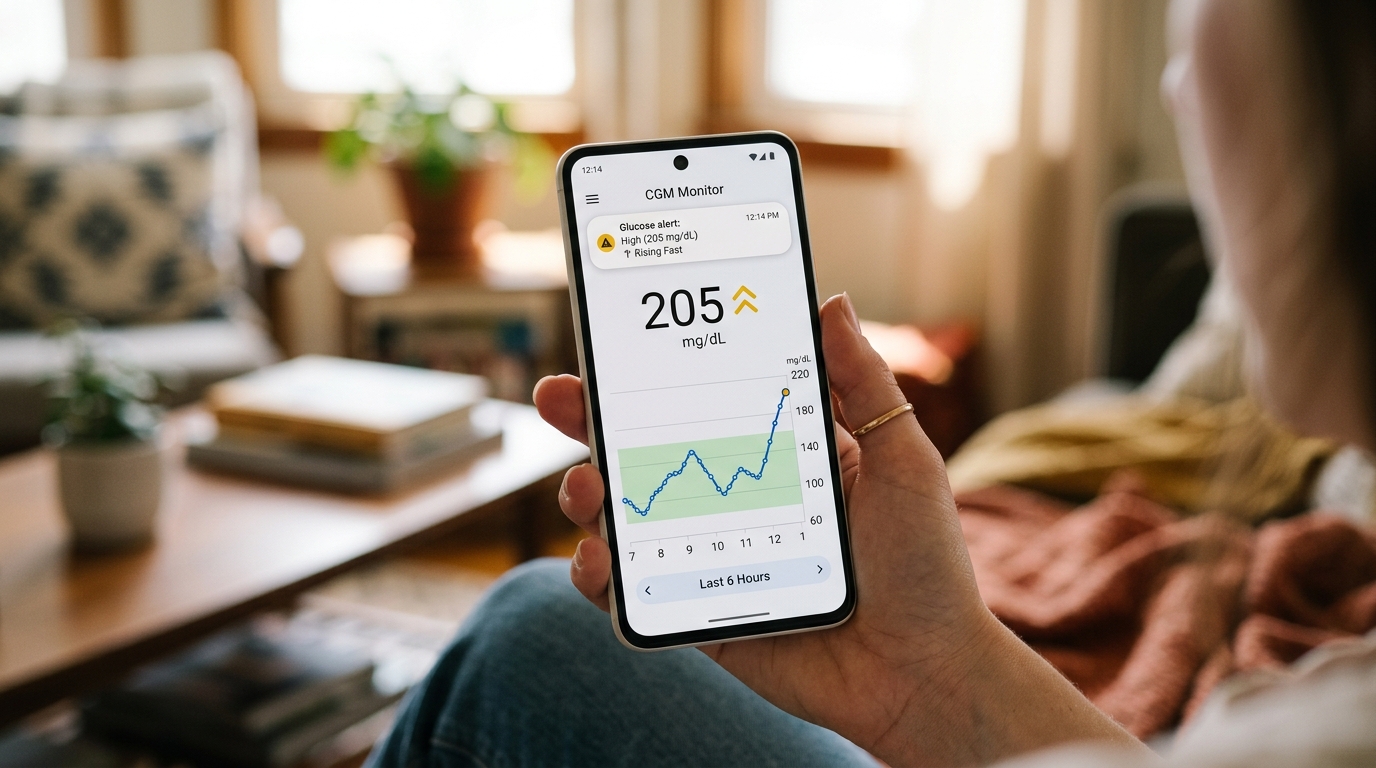
During this warm up period, which typically lasts around an hour, the sensor is not yet providing accurate readings, so it is normal not to see numbers right away. Once warm up is complete, you should start seeing real time glucose data appear in the app, updating automatically every few minutes without any scanning required.
Common Mistakes to Avoid
A few small errors tend to come up again and again among first time CGM users, and knowing about them ahead of time can save you some frustration. One common mistake is applying the sensor to skin that still has lotion or sweat on it, which weakens the adhesive bond from the very start. Another is choosing a spot too close to the edge of the arm or near a joint, where movement can cause the sensor to shift or peel.
Some people also press the applicator at an angle instead of keeping it flat against the skin, which can affect how well the filament inserts and how comfortable the sensor feels afterward. Taking a moment to check that the applicator sits evenly before pressing the button helps avoid this issue entirely.
It is also worth resisting the urge to touch or pick at the sensor once it is applied, especially in the first day or two while the adhesive is still settling. Constantly checking whether it feels secure by pressing on it can actually loosen the edges faster than leaving it alone.
Caring for the Sensor After Application
Once your sensor is in place and connected, daily care is fairly simple. The iCan CGM is designed to be waterproof, so showering, swimming, and sweating during exercise should not cause problems as long as the edges of the adhesive are fully sealed. Pat the area dry after water exposure rather than rubbing it, since rubbing can gradually lift the edges of the patch.
If you notice the edges starting to lift over the course of the fifteen day wear period, many users find that an additional adhesive patch or medical tape around the border helps extend the wear time without affecting the sensor's function. Just make sure any tape you use is skin friendly and does not cover the sensor's central reading area.
Keep an eye on the application site for any signs of redness, swelling, or discomfort that goes beyond mild, temporary irritation. Most people tolerate CGM sensors well, but skin sensitivity varies from person to person. If you notice ongoing irritation, rotating your application sites more frequently or trying a different area of the arm often resolves it.
When to Reach Out for Support
If you run into a situation where the sensor will not connect to the app, falls off earlier than expected, or gives readings that do not match how you are feeling, it helps to have support close at hand. The iCan CGM support team is available through WhatsApp, which makes it easy to send a quick message or photo if something does not look right and get guidance on next steps.
Getting comfortable with sensor application is really just a matter of practice. The first one or two times might feel unfamiliar, but most users find that by the third sensor, the whole process takes just a few minutes and becomes part of their regular routine. Once you have a system down, whether that means always using the same arm rotation or always prepping your skin the same way, the whole experience becomes second nature.
Final Thoughts
Applying a CGM sensor correctly is not complicated, but it does reward a little patience and attention to detail. Clean skin, a good spot on the arm, a steady hand with the applicator, and a few days of gentle care afterward are really all it takes to get reliable, comfortable performance for the full wear period. Once you have been through the process a couple of times, checking your glucose levels without finger pricks becomes one of the easiest parts of managing diabetes day to day.